Table Of Contents
Employees
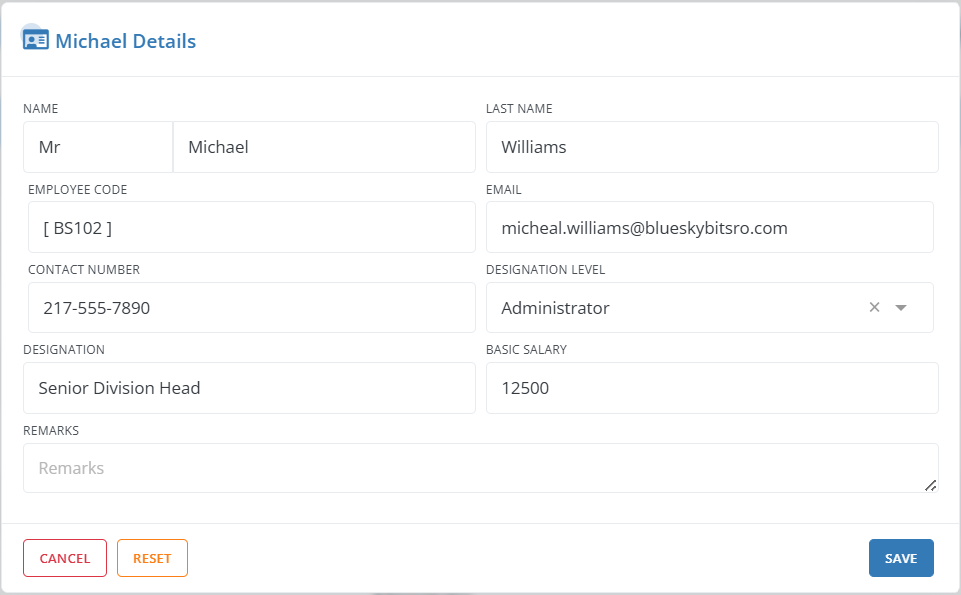
Employees are individuals who work for an organization in various roles, based on the organization’s needs and structure.
To Add a New Employee:
- Go to Menu > Company Setup > Employees.
- Click the +New button at the top right corner of the page.
- Enter the required details in each field, then click Save.
To Search for an Employee in Workstair:

- Navigate to the Left Menu bar > Company Setup > Employees.
- In the search field, you can search for an Employee using three options: Email, Contact, or Employee Code.
- Additionally, you can filter employees by selecting Designation Level, Created At, or Status from their respective dropdowns.
To Sort the Employee list:
- Select sorting criteria such as Email, Contact, or Employee Code from the dropdown.
Taxes
A Tax is a mandatory financial charge that a government imposes on citizens and companies to pay for public services and programs. In Workstair, we can add different type of Taxes.
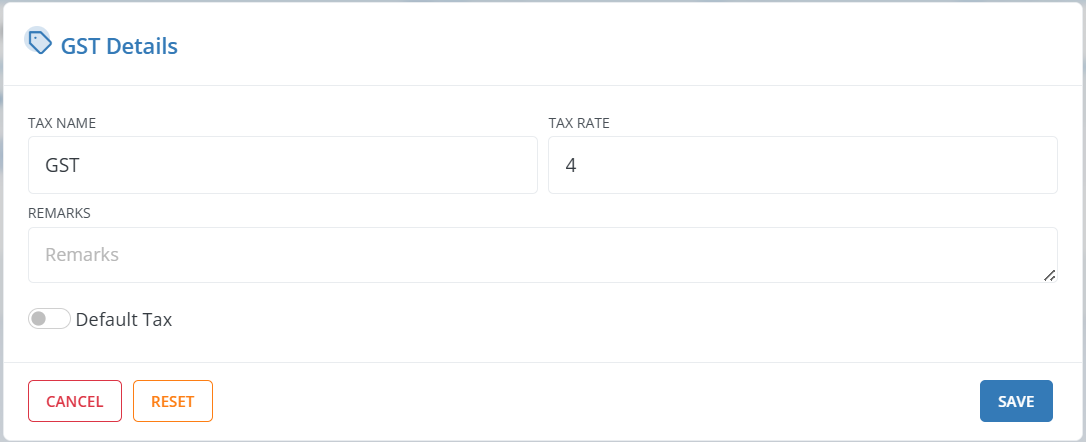
To Add a New Type of Tax:
- Go to Menu > Company Set > Taxes
- Click the +New button in the top right corner of the page.
- Enter the details in each field, then click Save.
- To set the tax as default, enable the Default option while entering the details.
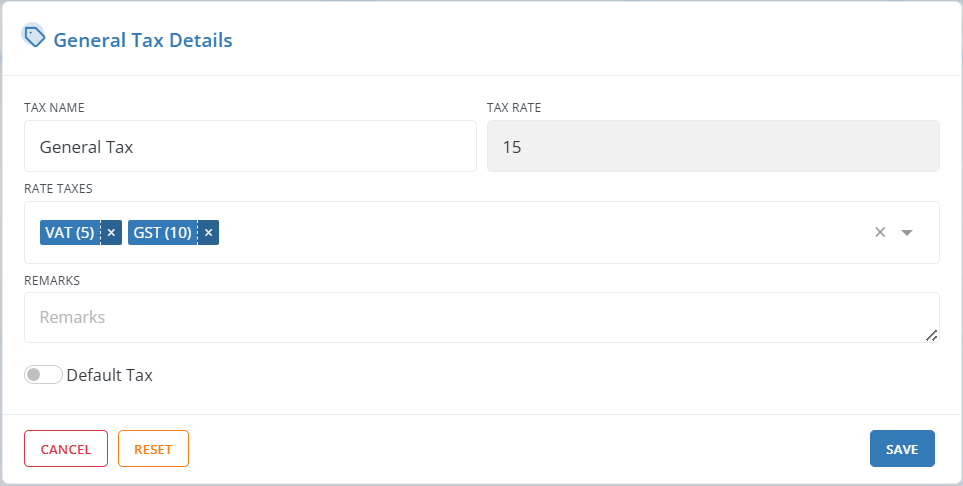
To Create a New Tax Group:
- Click +New Group Tax.
- Enter the required details in each field.
- Select the types of taxes to group from the dropdown under the Rate Taxes field.
- Click Save.
To Search a Tax in Workstair:

- Go to Left Menu bar > Company Setup > Taxes
- In search field, search the Tax by its Name. Besides that, you can filter the search by selecting Category, Created At, or Status from their respective dropdowns.
To Sort Taxes list:
- Sort the taxes by Tax Name using the available sorting option.
Items
We can create different kinds of Items separately in Workstair, making it easier to choose an item from the service/product field dropdown of the Workstair forms.
To Create a New Item:
- Go to Menu > Company Setup > Items.
- Click the +New button in the top right corner of the page. Enter the details in each field, then click Save.
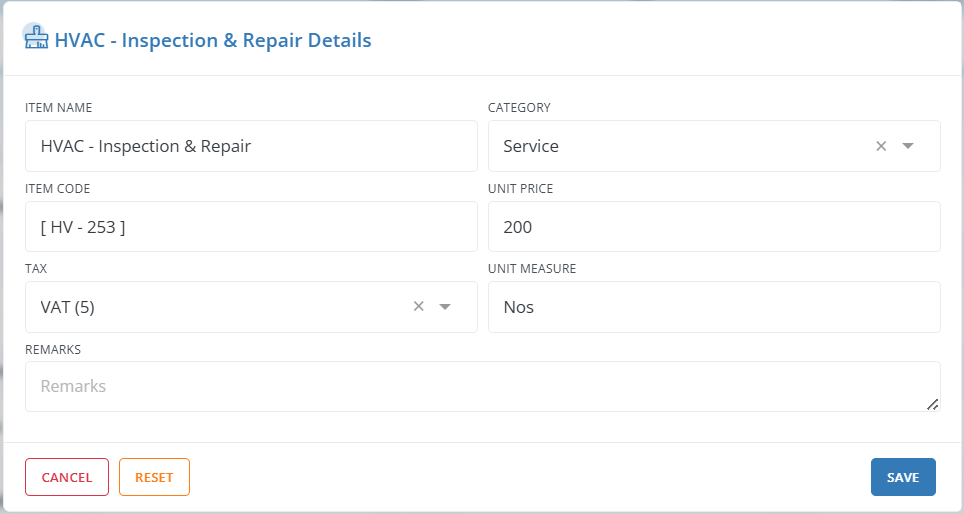
| Item Name: | Enter the name of the service/product you provide. |
| Category: | Choose whether the Item is a service or product from the dropdown. |
| Item Code: | Enter the Item code here. |
| Unit Price: | Specify the price per unit of the service/product. |
| Tax: | Select the applicable tax type for this service/product from the dropdown. |
| Unit Measure: | Enter the measurement unit, if applicable (e.g., Hours, Square feet, Square meters). It depends on the service you offer. |
| Remarks: | Add any additional information or comments about the Item. |
| Cancel: | Click to return to the previous screen without saving. |
| Reset: | Click undo/cancel all the changes you made in it. |
| Save: | Click to save the Item, which can be further selected from the dropdown of service/product field of items panes. |
To Search an Item in Workstair:

- Navigate to the Left Menu bar > Company Setup > Items.
- In the search field, you can search an Item using three options: Item Name, Code, or Category. Additionally, you can filter items by selecting Tax, Created At, or Status from their respective dropdowns.
To Sort Items list:
- Select available criteria such as Item, Code or Category from the dropdown.
Groups
In Workstair, Group is typically a broad category that includes several related services.
To Add a New Group in Workstair:
- Go to Menu > Company Setup > Groups
- Click the +New button in the top right corner of the page.
- Enter the required details in each field, then click Save.

To Search a Group in Workstair:

- Go to Left Menu bar > Company Setup > Groups
- In search field, search a Group by its name.
- Additionally, you can filter groups by selecting Parent Group, Created At, or Status from their respective dropdowns.
To Sort the Groups List:
- Sort groups by Name using the available sorting option.
Company Profile
This section of Workstair allows you to customize your company profile, including basic information such as your address, contact details, and more.
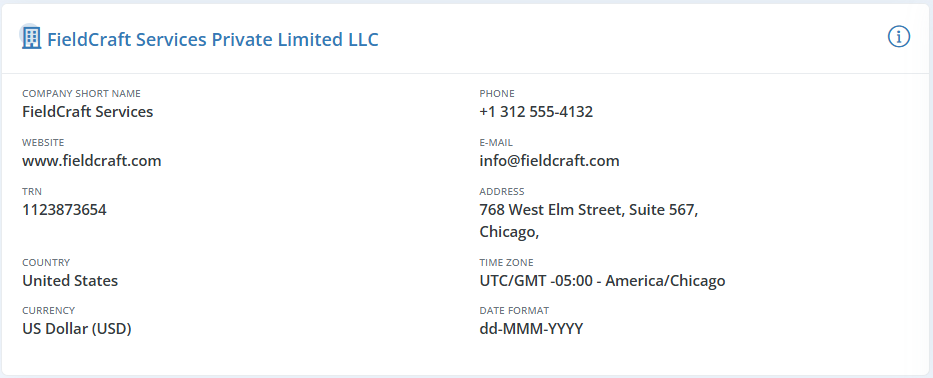
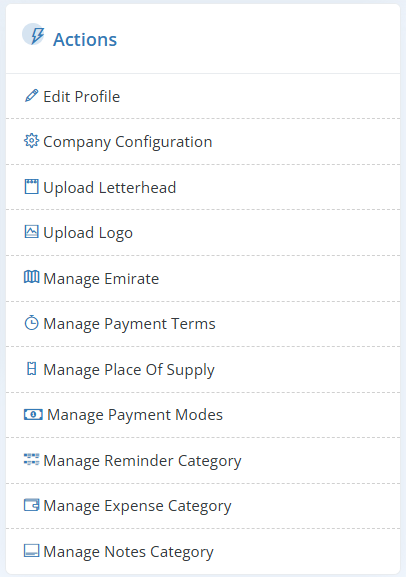
To set up your organization profile, simply access the available options in the Actions pane.
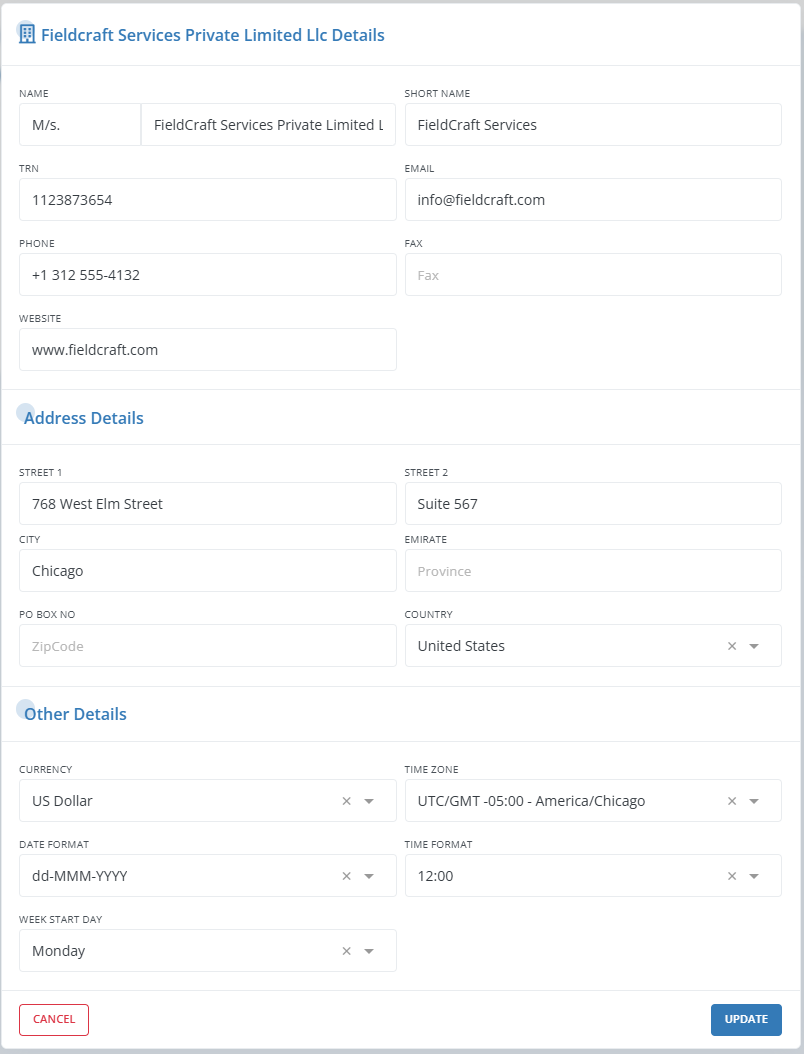
Edit Profile
In this section, you can update basic details of the organization, such as Name, Address, Currency, Time Zone, and Date & Time Format. After entering all the details, click the Save button.
Company Configuration
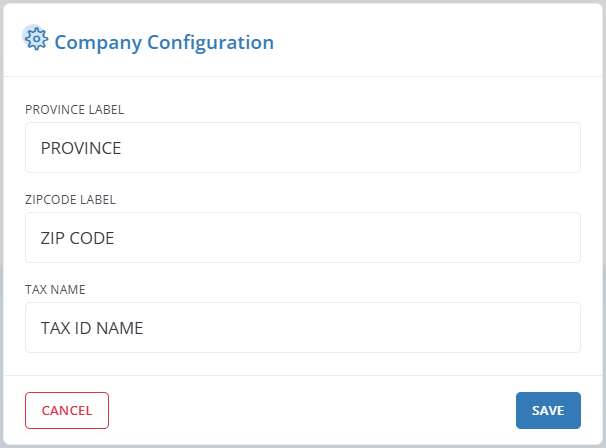
In the Company Configuration section, enter details such as Province Label, Zip Code Label and Tax Name.
Upload Letterhead
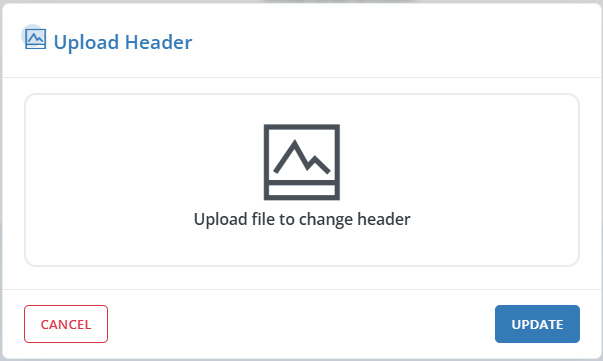
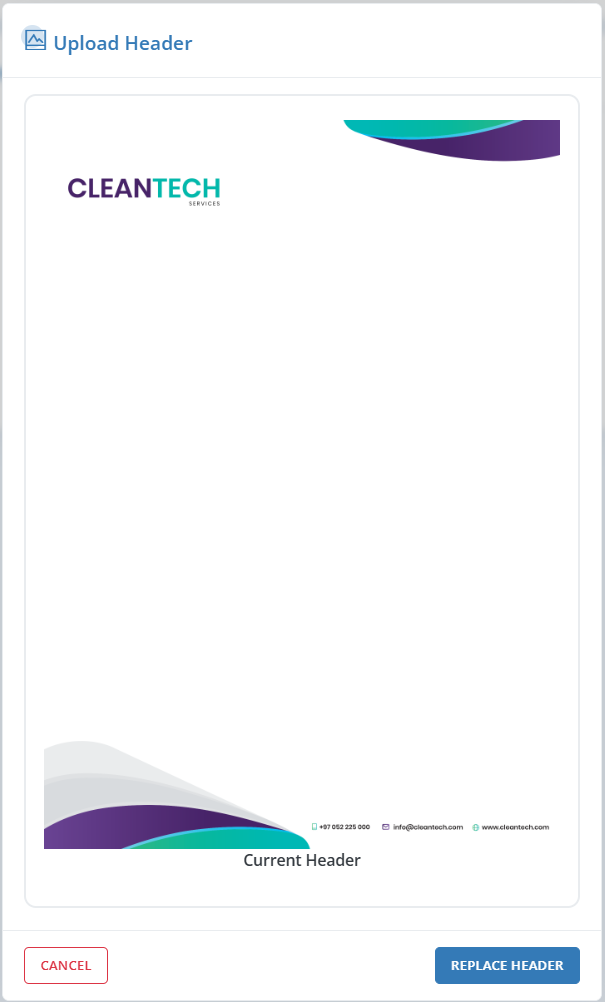
This section allows you to customize the header of the document template. To edit the header template:
- Go to Company Setup > Company Profile > Actions > Upload Letterhead.
- Click Replace Header.
- Select the header image by clicking ‘Upload file to change Header‘.
- Click Update.
For a step-by-step video guide, check out our YouTube tutorial here !
Upload Logo
This section allows you to customize the organization’s logo. To update the current logo:
- Go to Company Setup > Company Profile > Actions > Upload Logo
- Click Edit.
- Select the logo image from files by clicking on ‘Upload file to change Header‘
- Click Update.


Manage Emirate
This section allows you to manage the administrative divisions, such as Emirates in the UAE or Provinces in other regions. You can add a new Emirate/Province by clicking +Add New Line. Existing entries can be enabled or disabled using the enable/disable icon next to each Emirate/Province name.
To add a new Emirate:
- Go to Company Setup > Company Profile > Actions > Manage Emirate
- Click +Add New to add a new Emirate
- After entering the details, click Update
- Manage existing Emirates by clicking on enable/disable icon on the left of each emirate names.

Manage Payment Terms
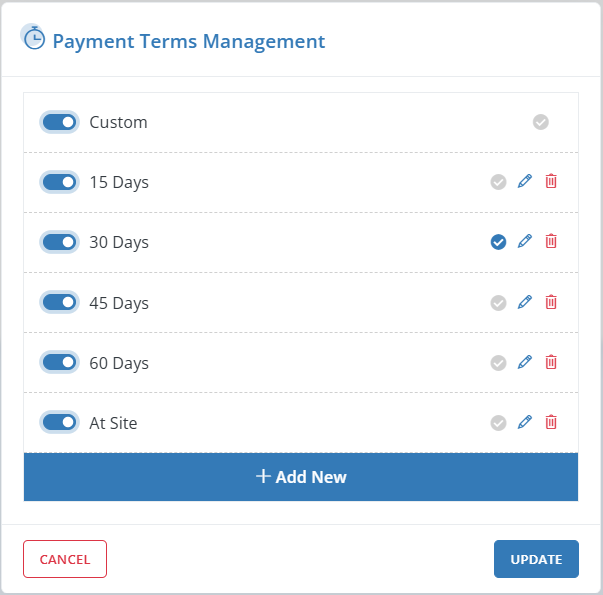
In this section, you can define and manage payment terms for your organization. This includes setting standard terms like 15 days, 30 days, and custom terms, as well as specifying conditions such as ‘At site’ for particular payment scenarios.
To Manage the Payment Terms:
- Go to Company Setup > Company Profile > Actions > Manage Payment Terms
- Click +Add New to add a new payment term.
- Enter the details and click Update.
- Manage existing Payment Terms by clicking on enable/disable icon on the left of each term.
Manage Place of Supply
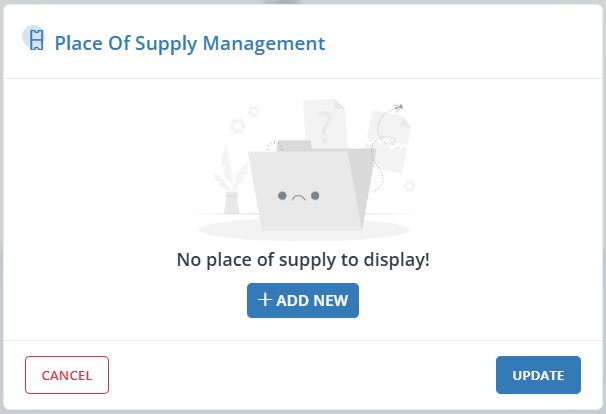
Place of Supply management is particularly important for businesses operating across different regions or countries, as it ensures compliance with varying tax laws and regulations based on transaction locations. In Workstair, you can add and manage multiple places of supply to ensure accurate tax calculations and avoid penalties.
To add a new Place of Supply:
- Go to Company Setup > Company Profile > Actions > Manage Place of Supply.
- Click +Add New to add a new Place of Supply.
- Click Update to save your changes.
- Manage existing places of supply by using the enable/disable icon next to each entry.
Manage Payment Modes
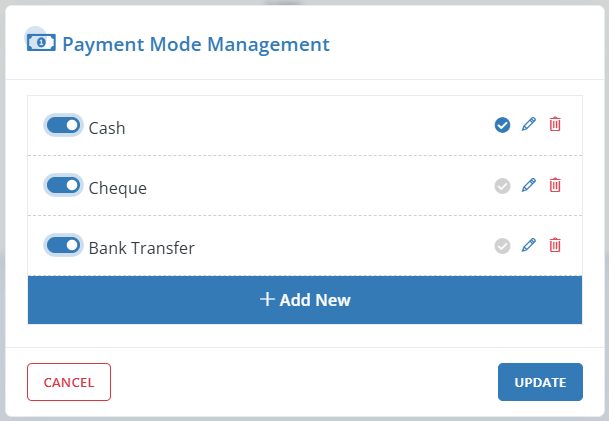
Payment modes refer to the methods or channels through which payments are made for goods or services, including options like cash, credit or debit card, bank transfer, mobile wallets, and online payment gateways. In Workstair, you can add and manage multiple payment modes to provide customers with various options for making payments.
To add a new Payment Method:
- Go to Company Setup > Company Profile > Actions > Manage Payment Modes.
- Click +Add New to add a new payment mode.
- Click Update to save your changes.
- Manage existing payment modes using the enable/disable icon next to each payment mode names.
Manage Reminder Category
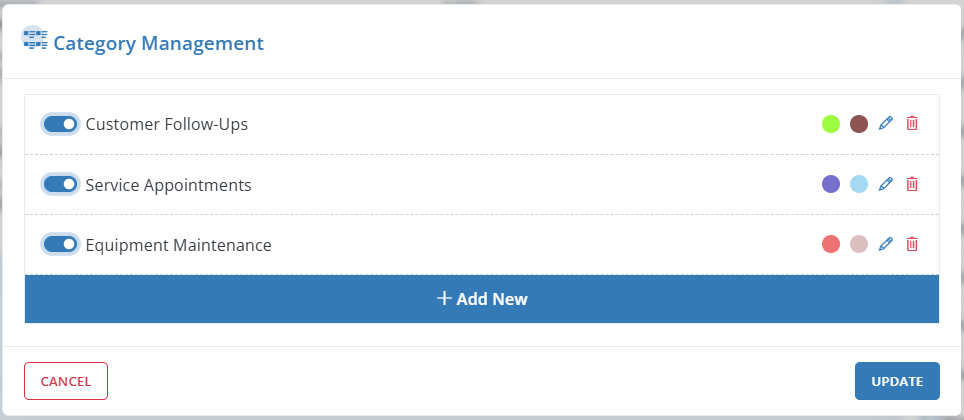
Reminder Categories in Workstair allow you to organize and set different types of reminders for various activities, ensuring that important tasks and deadlines are not missed. Managing Reminder Categories helps streamline operations and ensures timely completion of tasks.
- Go to Company Setup > Company Profile > Actions > Manage Reminder Category
- Click +Add New to add a new Reminder Category.
- Set the Background Color and Font Color for each reminder category. These colors will reflect in the calendar, making it easier to distinguish different types of reminders.
- Click Update to save your changes.
- Manage existing categories by using the enable/disable icon next to each category.
Manage Expense Category
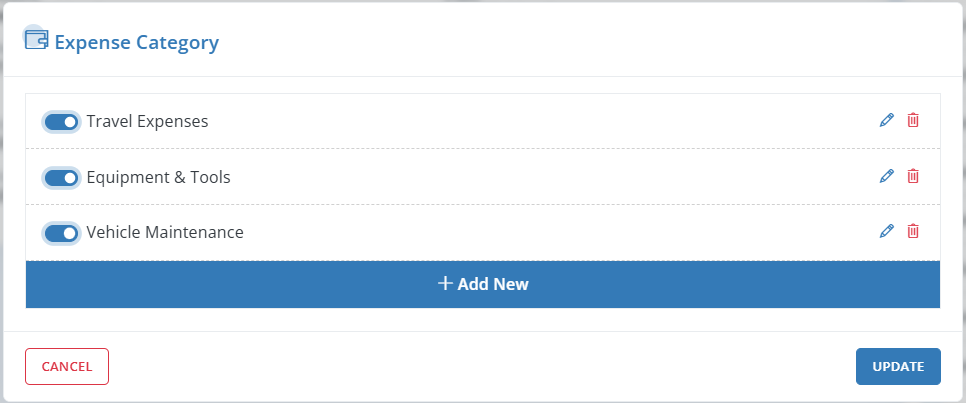
In WorkStair, the Expense Category feature allows you to categorize and organize different types of expenses incurred during business operations. You can define categories such as travel, equipment, supplies, and more to keep track of expenses efficiently.
To add a new Expense Category:
- Go to Company Setup > Company Profile > Actions > Manage Expense Categories.
- Click +Add New to create a new Expense Category.
- Click Update to save your changes.
- Manage existing Expense Categories using the enable/disable icon next to each category name.
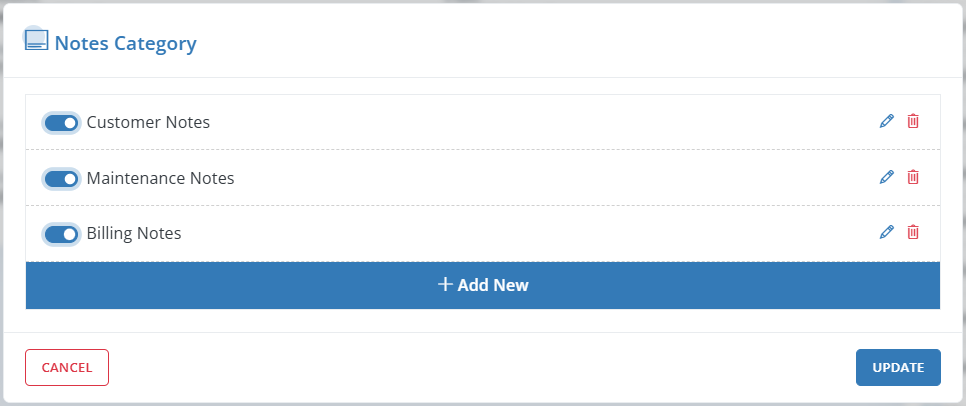
Manage Notes Category
The Notes Category feature allows you to organize and classify notes based on different aspects of your business operations. You can create categories such as customer notes, job notes, inspection notes, or internal communications to ensure all notes are easily searchable and categorized for future reference.
To add a new Notes Category:
- Go to Company Setup > Company Profile > Actions > Manage Notes Categories.
- Click +Add New to create a new Expense Category.
- Click Update to save your changes.
- Manage existing Notes Categories using the enable/disable icon next to each category name.
