Content Editor Enhancements
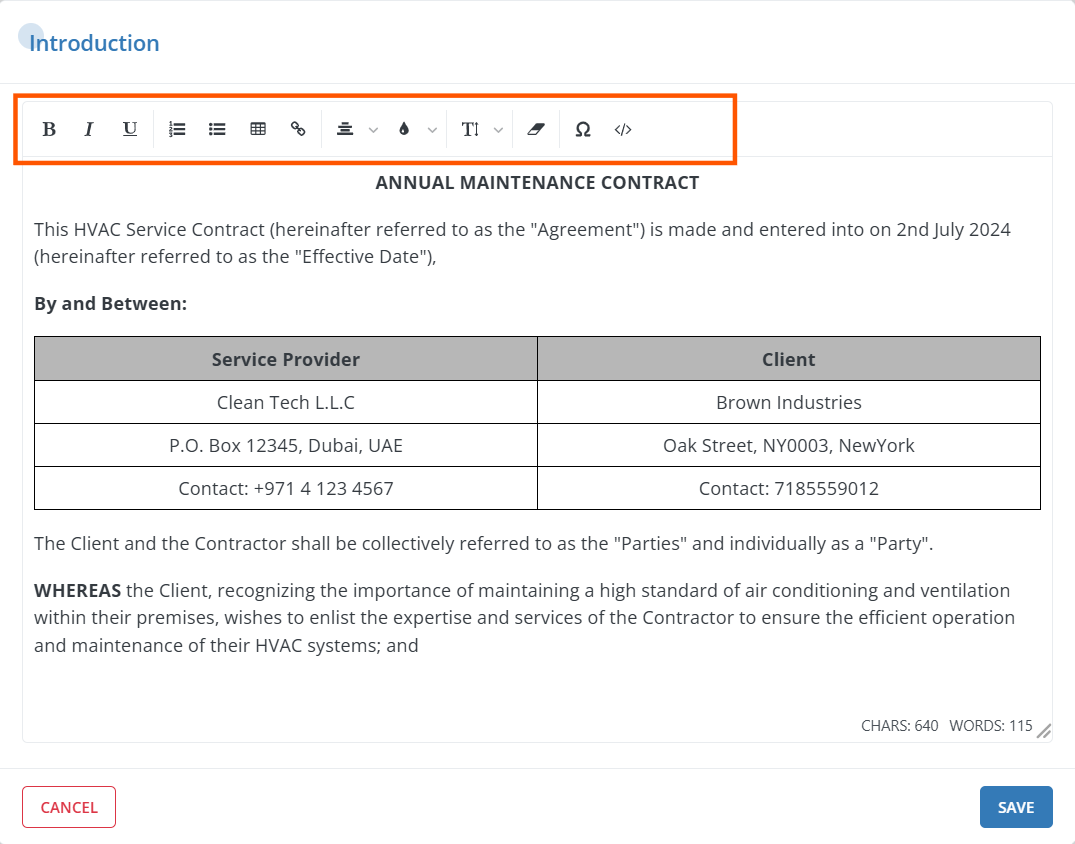
Inserting tables and adjusting font sizes to Introduction, Scope of Work, and Terms and Conditions sections are easier with the updated document creation module. These improvements aim to make document formatting and content management easier and more efficient.
Tip: Use Shift + Enter to start a new line and Enter to create a new paragraph.

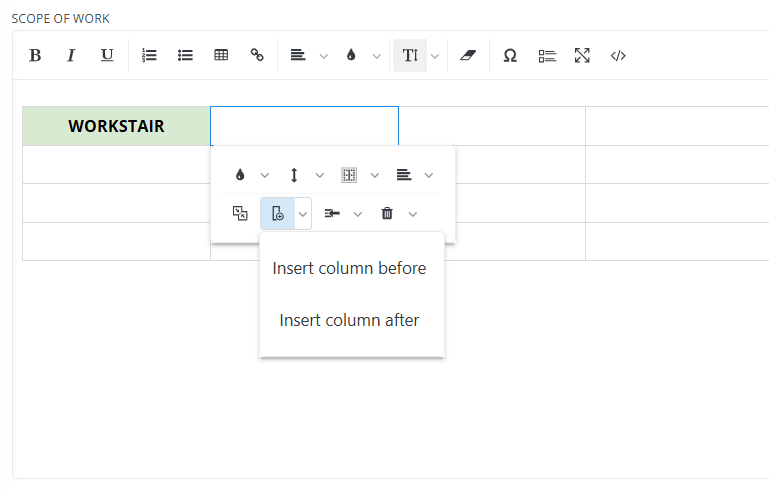
Inserting and customizing tables in Workstair is now quick and simple, making it easier than ever to organize your data.
Insert a Table
Inserting a table in Workstair is really quick and simple.
- Click on Insert Table
- Move the cursor over the grid until you highlight the number of columns and rows you want.

Add or change the fill color of a table cell
- Select the cells in which you want to add or change the fill color.
- From Table Tools, click the Fill color icon.
- Click Background to select and apply a background color.
- Click Text to select and apply a text color.
- Click Border to select and apply a border color.

Add a row, or column
- Click in a cell that is located just below or above where you want to add a row or column.
- Under Table Tools, click the row or column Layout icon
- To add a row or column just above the cell that you clicked in, click Insert Above.
- To add a row or column just above the cell that you clicked in, click Insert Below.


Search Bar Enhancements
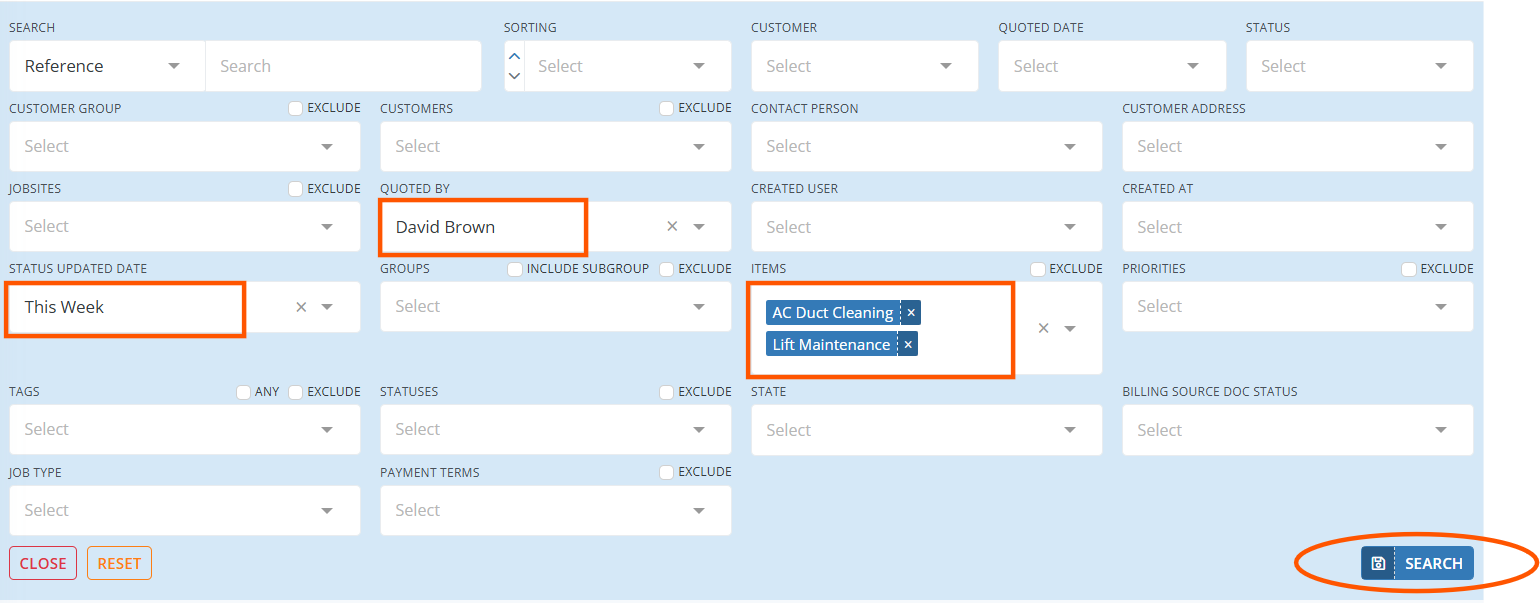
Starting with this update, in the advanced search (Expanded Search), you’ll need to click the “Search” button to see your results after making all the selections. This change will make sure all your selections are applied for better results.

Saved Searches
In Workstair, you can save search filters to easily retrieve documents like Quotes, Contracts, Invoices, and more.
- Click on Saved Searches in the search bar
- Then, click the Create New button

- Apply the necessary search filters (e.g., Customers, Jobsites, Service Items, Status, Priorities) based on your requirements.
- Click the Save & Search icon at the bottom-right corner of the search bar.
- Enter a name for the saved search.
- Enable Set As Default if you want this set of filters to be your default search.
- Click Save & Search.

Your saved searches will now be displayed under Saved Searches for easy access based on your saved criteria.


