Table Of Contents
Overview
Workstair is a cloud-based field service management (FSM) software designed to streamline your entire service business. It enables you to manage quoting, contracting (SLAs), job scheduling, dispatching, invoicing, and reporting—all in one place, from anywhere. By optimizing operations, Workstair enhances efficiency and improves the overall customer experience.
For a quick overview of how to get started with Workstair, watch the video below:
Login Process
- Open your preferred web browser (e.g., Chrome, Firefox, etc.).
- Go to https://app.workstair.com to access the login page.
- Enter your Username and Password in the respective fields.
- Click the Login button to access your Workstair account.

Company Profile Setup
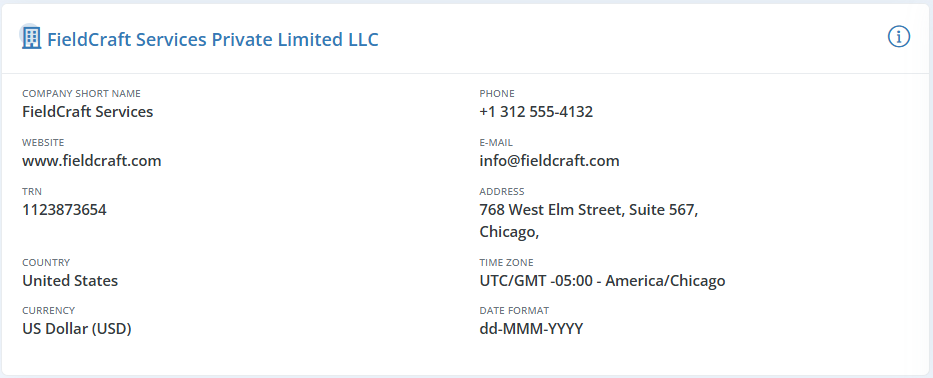
The Company Profile in Workstair allows you to customize essential information about your organization. This includes your company’s name, address, contact details, and other basic information that will appear on documents like Quotes, Contracts, Invoices, etc.
To setup or update your Company Profile, click here to learn more!

Setting Up Taxes
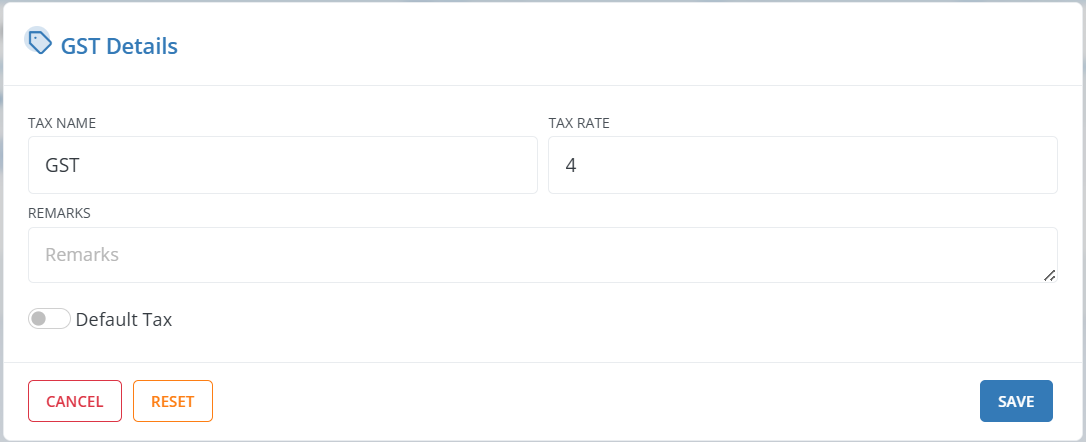
A Tax is a mandatory financial charge that a government imposes on citizens and companies to pay for public services and programs. In Workstair, we can add different type of Taxes.
- Go to Menu > Company Set > Taxes
- Click the +New button in the top right corner of the page.
- Enter the details in each field, then click Save.
- To set the tax as default, enable the Default option while entering the details.

Service Items
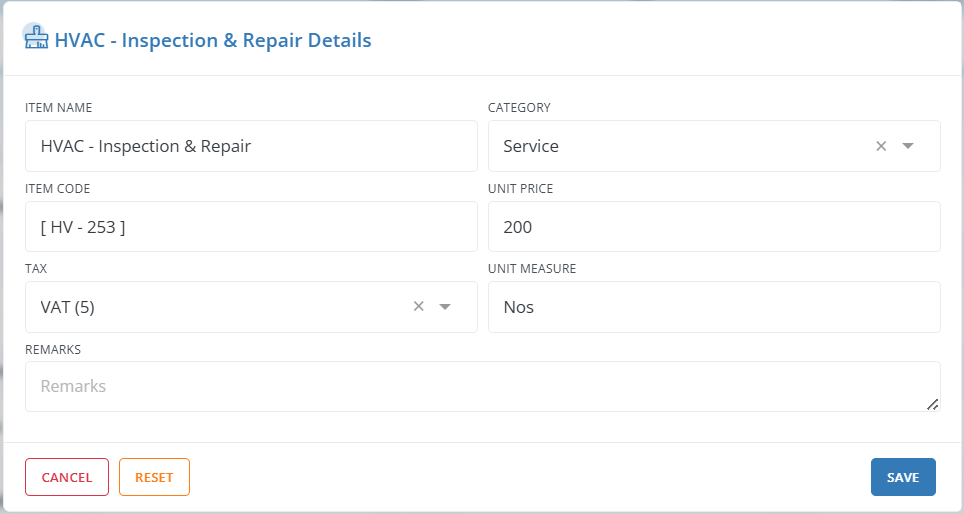
We can create different kinds of Items separately in Workstair, making it easier to choose an item from the service/product field dropdown of the Workstair forms.
- Go to Menu > Company Setup > Items.
- Click the +New button in the top right corner of the page. Enter the details in each field, then click Save.

Adding Employees
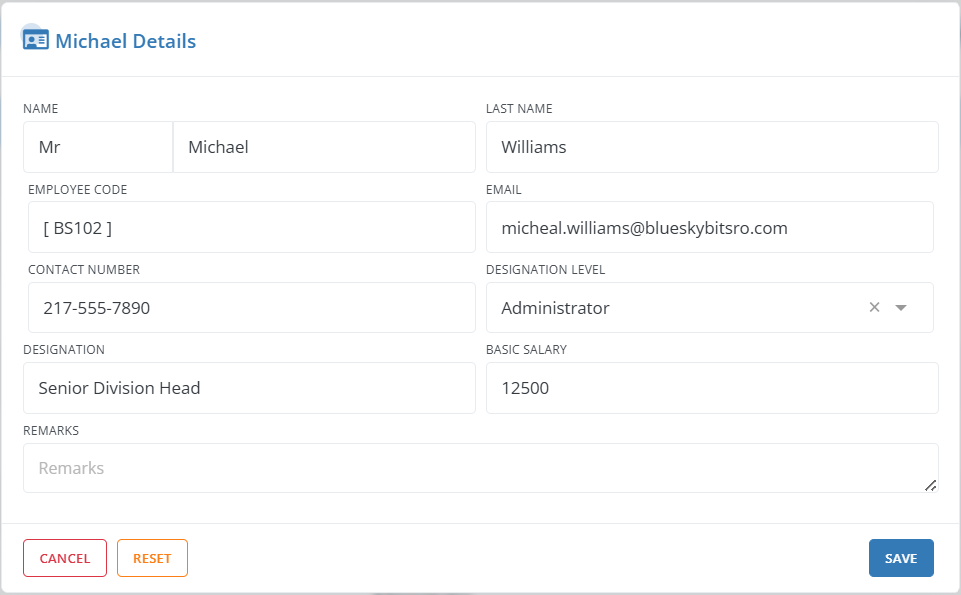
Employees are individuals who work for an organization in various roles, based on the organization’s needs and structure.
- Go to Menu > Company Setup > Employees.
- Click the +New button at the top right corner of the page.
- Enter the required details in each field, then click Save.

Need to learn more about Setting up ? Click here!
Want to start creating a Quote ? Click here!

