Clients Overview
Workstair allows you to easily add and manage your Customers, Customer Groups, Contact Persons, Job Sites, and Zones. By providing a user-friendly interface, Workstair simplifies the process of filling out forms and makes it easy for you to quickly add and manage the information you need to effectively run your business.
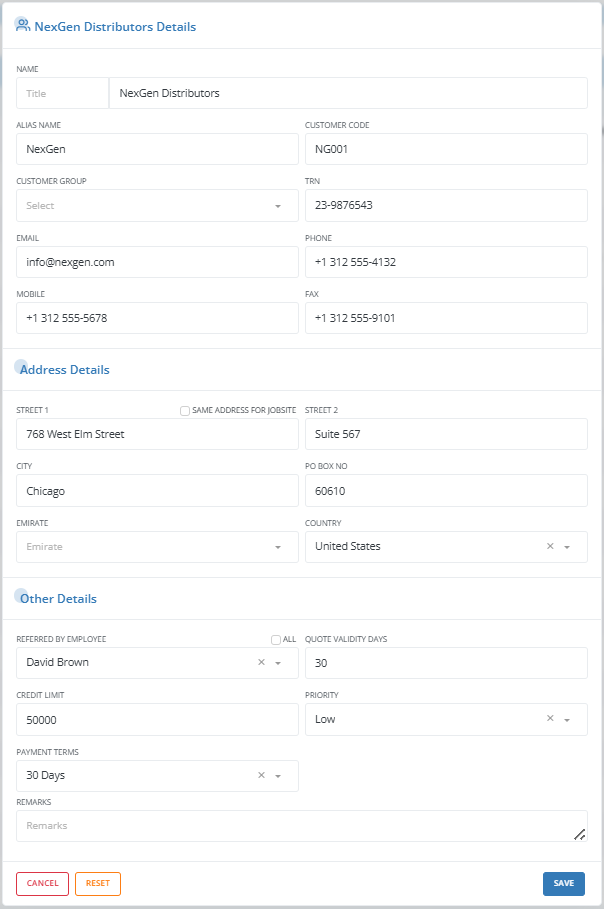
Create a new Customer
A Customer is a person or an organization that uses the services or products provided by your organization in exchange for payment.
To create a New Customer:
- Goto Menu > Clients > Customers
- Click the +New button in the top right corner of the page.
- Enter the details in each field, then click Save.
To Search a Customer in Workstair:

- Navigate to Left Menu bar > Clients > Customers.
- In the search field, you can search for a Customer by selecting options from several dropdowns.
To Sort Customers:
- Choose from available criteria such as Name, Created At, Updated At or Priority from the dropdown menu.
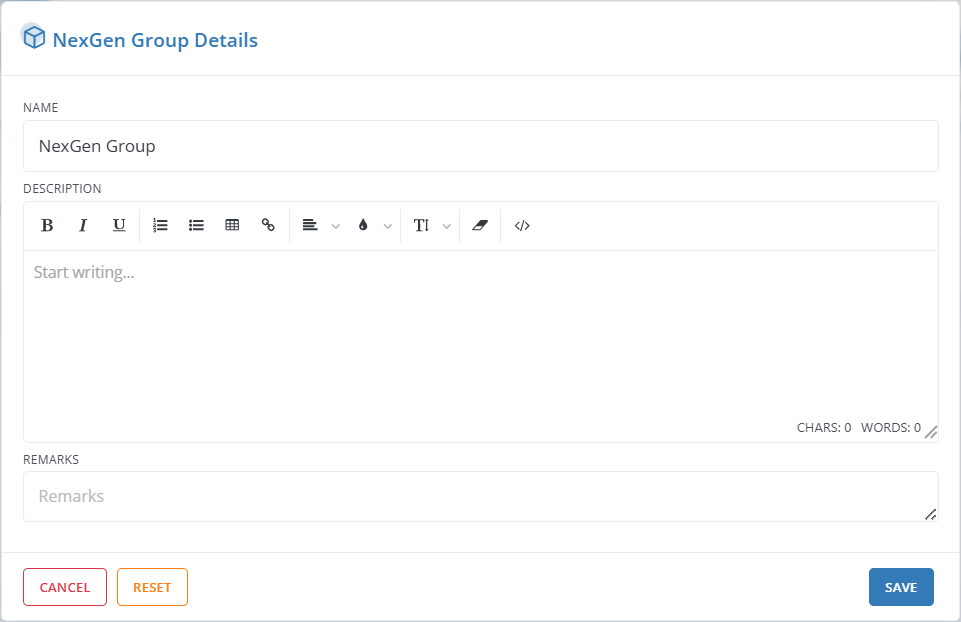
Create a new Customer Group
If you need to Group your Customers based on specific criteria, you can create Customer Groups and assign Customers to a group with a customized name. With Workstair, you can easily categorize your customers for more effective management and streamlined communication.
To create a New Customer Group:
- Goto Menu > Clients > Customer Groups
- Click the +New button in the top right corner of the page.
- Enter the details in each field, then click Save.
To Search for a Customer Group in Workstair:

- Navigate to Left Menu bar > Clients > Customer Groups.
- In the search field, you have two options to search for a Customer Group: Name and Province.
- You can further refine your search by selecting options from the dropdowns for Created At and Status.
To Sort Customer Groups:
- Choose from available criteria such as Name or Province from the dropdown menu.
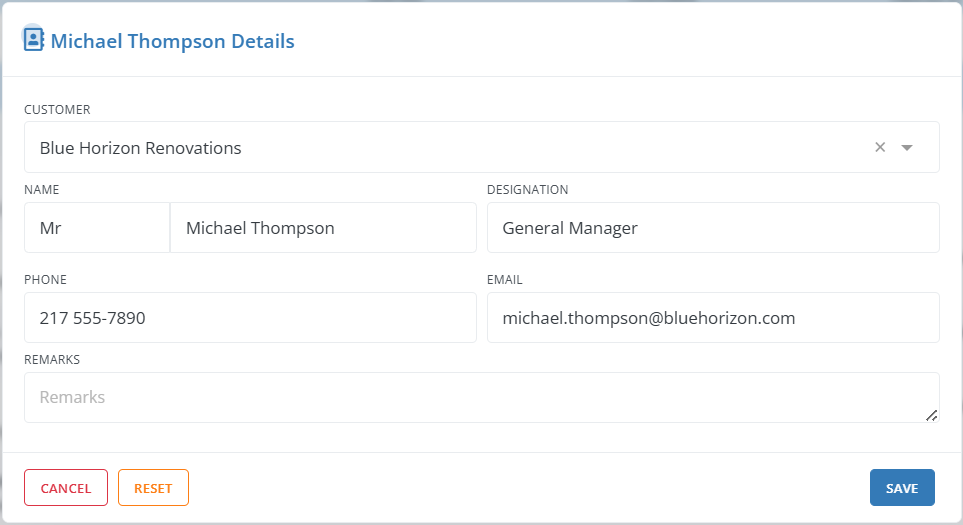
Create a new Contact Person
A Contact Person is an individual who is designated by a Customer to act as the primary point of contact between the Customer and your business. This person is usually responsible for communicating with you about Services, Invoices, Job Sites, and other matters related to the Customer’s account.
To create a New Contact Person:
- Goto Menu > Clients > Contact Persons
- Click the +New button in the top right corner of the page.
- Enter the details in each field, then click Save.
To Search a Contact Person in Workstair:

- Go to Left Menu bar > Clients > Contact Persons.
- In the search field, there are four options to search for a Contact Person: Name, Designation, Phone, and Email.
- You can also refine your search by selecting Customer, Created At, and Status from the respective dropdowns.
To Sort Contact Persons:
- Choose from available criteria such as Name, Designation, Phone, or Email from the dropdown menu.
Create a new Jobsite
To create a new Jobsite:
- Goto Menu > Clients > Jobsites
- Click the +New button in the top right corner of the page.
- Enter the details in each field, then click Save.
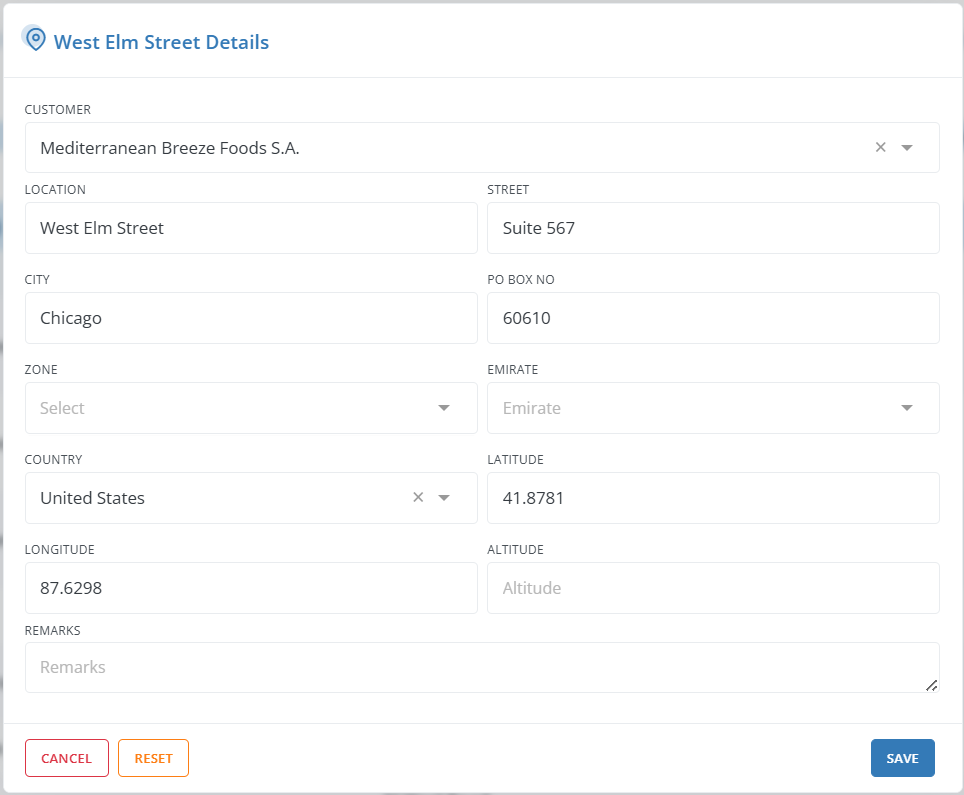
Note: A Client can have more than one Jobsites.
To Search a Jobsite in Workstair:

- Go to Left menu bar > Clients > Jobsites.
- In the search field, there are four options to search for a Jobsite: Location, City, Street, and Province.
- Additionally, you can search for a Jobsite by selecting Zone, Created At, and Status from the respective dropdown fields.
To Sort Jobsites, select available criteria such as Location, City, Street, or Province from the dropdown.
Create a new Zone
To create a New Zone:
- Goto Menu > Clients > Zones
- Click the +New button in the top right corner of the page.
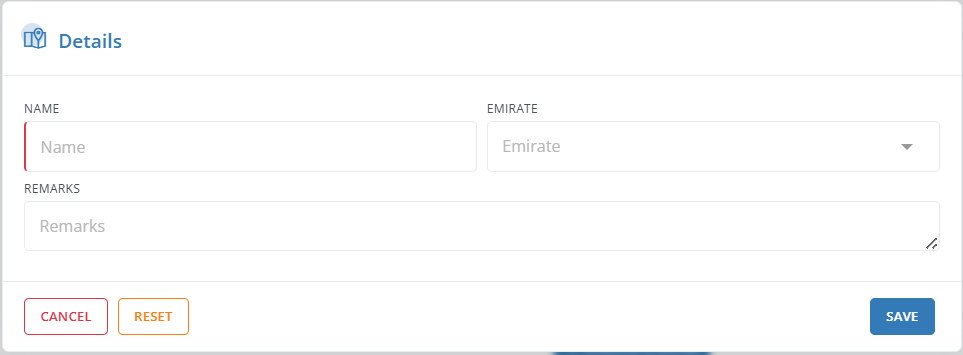
- Enter the details in each field, then click Save.
To Search a Zone in Workstair:

- Go to Left Menu bar > Clients > Zones.
- In the search field, there are two options to search for a Zone: Name and Province. Additionally, you can search for a Zone by selecting Created At and Status from the respective dropdown fields.
- To sort Zones, select available criteria such as Name or Province from the dropdown.

